

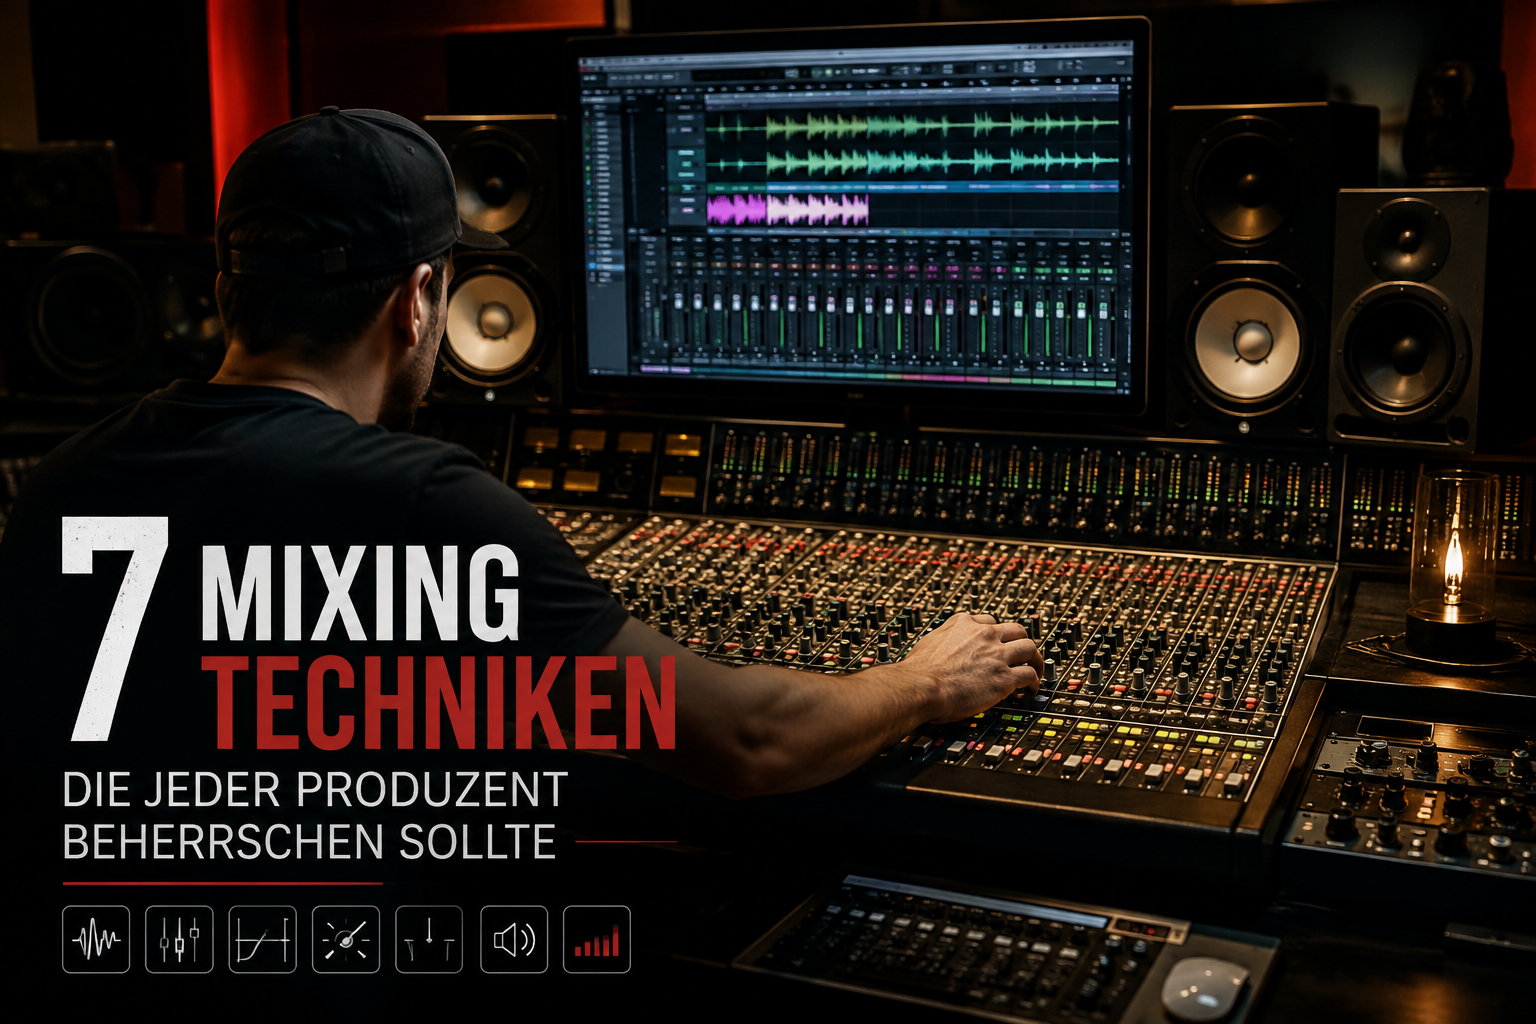
Compression, EQ, saturation, reverb, delay – anyone who gets into music production runs into a whole series of technical terms early on that seem to confuse more than they help. Yet behind each of these tools lies a simple basic principle. Once you've understood the logic, you'll not only mix faster, but above all more deliberately.
At OneCrewRecords, we listen to new releases from our artists every week – and the differences between a track that holds up in the context of a playlist or radio set and one that sounds great on your studio monitors at home but gets lost everywhere else almost always come down to the mix. Here are seven techniques you can use to approach your next mix systematically – plus a few general habits that will bring you even more in the long run than any single plugin.
There's no magic formula
Before we get started: there is no fixed mixing formula that works for every track. Whether you're working on vocals, drums, guitars, or a complete arrangement – the order and intensity of the steps always depend on the source material. The following seven points are, however, a proven framework that many engineers follow.
1. Subtractive EQing
The first step almost never has anything to do with "making it better," but with cleaning up. Subtractive EQing is solely about removing unnecessary or disruptive frequencies – not about adding anything.
Important: never judge your EQ in solo mode. A sound that sounds odd on its own can still sit exactly right in the full arrangement. Instead, ask yourself: does this element really need energy in the bass range if a bassline or kick is already playing there? And don't cut too much – overly aggressive moves quickly sound unnatural in context.
2. Compression
Hardly any tool is used in such different ways – and misunderstood so often – as the compressor. Compression reduces the dynamic range of a signal, meaning the distance between the quietest and the loudest moment of a recording.
An example: with an acoustically recorded guitar, the picking strength naturally varies a lot. Some takes sound uneven, going back and forth between loud and quiet. A compressor evens that out and makes the signal "rounder" and more consistent. How much of that is needed depends entirely on the source material – so it's worth really understanding the individual controls (threshold, ratio, attack, release) before you use them, instead of just clicking through presets by ear.
3. Additive EQing
After the unnecessary frequencies have been removed, the second EQ pass comes: deliberately adding frequency ranges that the sound is missing. There's no fixed rule here – your ears and your musical taste decide.
A few reference points that often prove useful in practice:
- A slight boost around 3 kHz can add presence, because our hearing is particularly sensitive in this range.
- Boosts between 300 and 500 Hz often create more perceived warmth.
- A gentle boost above 7 kHz can give a sound more "air" and openness.
Here, too, the same applies: try things out, double-check them in the context of the whole mix, and only keep what really improves the track.
4. Saturation
Saturation is an optional step – not every element needs it, and with some sounds it can even be counterproductive. The reason: saturation generates additional harmonic frequencies that can overlap with what you've already deliberately added in the EQ.
Used in the right amount, though, saturation can give a track a pleasant, analog coloration. The best approach here, too, is: test, compare, and when in doubt, go for less rather than more. Excessive saturation can quickly make a clean mix sound messy and muddy.
5. Stereo image
The placement of sounds in the stereo panorama is one of the most underestimated factors for a professional mix. When elements pile up in the same frequency range and at the same stereo position, the result is a narrow, cluttered sound. If you distribute them deliberately across the panorama, each element gets more space – and your listeners can locate individual sounds in the track more clearly.
You basically have two tools for this: classic panning to the left or right, and the decision whether an element is processed in mono or stereo.
6. Reverb and delay
Reverb and delay are first and foremost creative tools, not mandatory ones. Delay in particular is often overused – if it's used too often or too long, several delays overlap each other and the mix quickly sounds messy. The same goes for reverb: too much room or a decay that's too long makes the track sound washed out.
Used sensibly, reverb mainly ensures that a track doesn't feel "dry" and lifeless – our hearing is used to hearing sounds in a room, and a subtle use of reverb can create exactly that natural sense of space. In practice, it has proven useful to work with one or two reverb send buses – for example, a shorter, more subtle room for rhythm instruments and a larger one for lead elements.
7. Double-check the volume
At the end of the chain, it's always worth doing a final check of the overall volume. Through compression, saturation, and additional effects, a track often ends up sounding noticeably louder than it did dry. So check once more in context whether the level feels right – or whether you need to readjust in a few places.
Five habits that will improve your mix even more
Besides the actual mixing techniques, there are a few fundamental working habits that set experienced producers apart from beginners. They take a bit of time at first, but pay off significantly in the long run.
Don't underestimate room acoustics
Many people mix their first tracks in the bedroom or home office – basically not a problem, as long as you follow a few basic acoustic rules. Smooth, hard surfaces like window panes, desks, or parquet floors reflect the sound of your monitors and thereby distort what you actually hear. The result: mixing decisions that sound good in your own room but don't work anywhere else.
Even simple measures help enormously – such as thick blankets or curtains on reflective surfaces, ideally complemented by absorber or diffuser elements behind the monitors and on the back walls. Bass traps placed in the corners of the room additionally reduce unwanted bass buildup. The effort is worth it – an acoustically treated room is one of the most effective investments for better mixing decisions.
Organize your mixing sessions
Especially with small projects with only a few tracks, organization seems excessive at first. But the more extensive your productions become, the faster you lose track without a clear structure. Three habits help with this:
- Create your own mixing template for your DAW, with pre-made groups, color coding, and routing – it doesn't have to be perfect from the start, but can grow over time.
- Consistently sort samples and sounds by genre and give them meaningful names, instead of digging through cluttered folders.
- Create a personal checklist for the mixing and mastering order, so that every track is processed with the same clear workflow.
Plan for breaks
What sounds trivial is regularly ignored in practice: regular breaks are not a luxury, but a necessity. Our hearing gets used to flaws in a mix over time – if you sit at the same track for hours, at some point you no longer hear problems, but consider them normal. If you reopen the project the next day, exaggerated decisions immediately stand out again.
A proven rule of thumb: take a short break at least every 60 minutes to "reset" your ears.
Work with reference tracks
A reference track is someone else's song that goes in a similar direction to your own in terms of style, energy, and sound. The comparison helps you realistically assess your own frequency balance, volume, and arrangement decisions, instead of relying only on your own, possibly "blind" ears.
Reference mixing is an extensive topic in its own right – if you want to dive deeper, you'll find numerous tutorials online that explain concrete techniques for comparing and matching reference tracks.
Check on different playback devices
No listening system sounds like another. Studio monitors present a significantly different picture than headphones, laptop speakers, car stereos, or small Bluetooth speakers. A mix that sounds perfect on your own monitors can suddenly seem thin or unbalanced on a smartphone speaker.
That's why it's worth checking on as many different systems as possible, including:
- Studio monitors
- Everyday speakers (not intended for mixing)
- Large over-ear headphones
- In-ear headphones
- Car stereo
- Small Bluetooth speakers
- Hi-fi system
- Smartphone speakers
A mono check is also worthwhile: not every playback device reproduces stereo signals, and a mix that collapses in mono or loses substance often has phase problems that can be fixed early on.
Conclusion
These seven techniques – subtractive EQing, compression, additive EQing, saturation, stereo image, reverb/delay, and the final volume check – form a solid framework for every mix. Combined with well-thought-out room acoustics, clear session organization, deliberate breaks, reference tracks, and tests on different listening systems, they add up to a workflow that improves track by track.
In the end, though, one thing matters most: your own ear. No set of rules replaces trying things out and critically comparing in the context of your specific track. Once your mix is done, OneCrewRecords takes care of the rest – from distribution to the payout of your royalties, so you can focus on what matters most: your music.



Kommentare
No comments yet. Be the first!